What equipment do I need to climb Kilimanjaro?
Climbing Kilimanjaro, the roof of Africa, is an adventure that attracts many trekking enthusiasts every year.
But it’s more than just a hike – it’s an adventure that takes you from the tropical climate of the African savannah to the eternal snows of the roof of Africa.
To meet this challenge and fully enjoy this unique experience, it’s crucial to have the right equipment for the varied mountain conditions. In this article, we offer you a detailed guide to help you prepare your equipment and approach this unforgettable expedition with peace of mind.
Your free quote for climbing Kilimanjaro
Prepare your adventure with complete peace of mind: receive a personalized estimate within 24 hours, tailored to your dates, your level, and your wishes.
Why is it essential to be well-equipped when climbing Kilimanjaro?
Kilimanjaro’s specific conditions
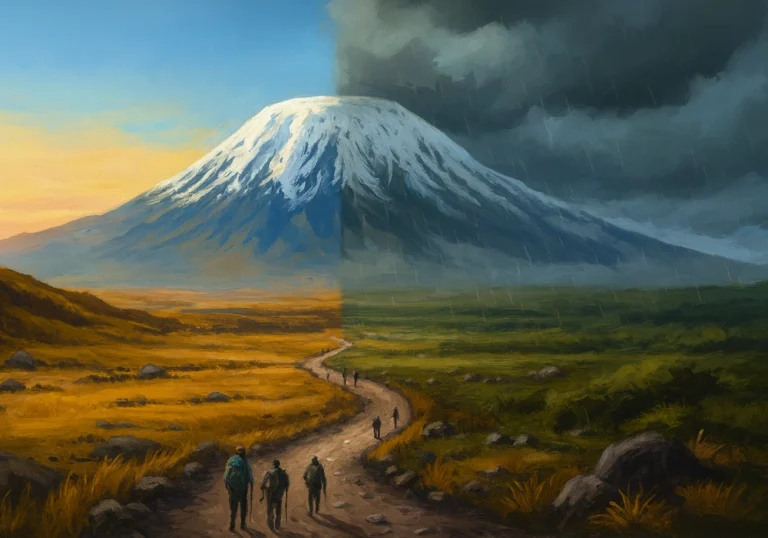
Kilimanjaro presents a unique environment for Africa, and more specifically for Tanzania, where climatic conditions change radically as you climb.
This is a microclimate apart from the rest of the country, where temperatures are high and relatively stable. You’ll start your trek in tropical heat at around 25°C, and end up in freezing cold that can drop to -20°C at the summit.
This extreme temperature variation is accompanied by significant atmospheric changes: the air becomes progressively thinner, humidity fluctuates considerably, and precipitation can occur at any time.
The diversity of the terrain, from clay to volcanic rock to snow-covered areas, calls for versatile, adapted equipment.
The risks of poor equipment
The wrong equipment can turn your adventure into a real ordeal.
The risk of hypothermia is real, especially in the final stages of the climb when temperatures drop drastically. Ill-fitting footwear can lead to crippling blisters or ankle injuries on uneven terrain. Lack of waterproof clothing can expose you to constant humidity, increasing the risk of chills. An ill-fitting pack can cause chronic back pain, seriously compromising your chances of reaching the summit.
In mountaineering, trail running and sport in general, Kilian Jornet explains that 4 basic factors determine a good time:
- Individual performance: physical ability, race management, experience, etc.
- Knowledge of the course: awareness of difficult sections, anticipation of movements to be made, etc.
- Weather conditions: good vs. bad weather, summer vs. winter, etc.
- The ethics you follow: with or without assistance, equipment chosen, doping or not, etc.
In short, you’ll have understood that you need to equip yourself properly, even if you’re not talking about sporting performance, as this will enable you to tackle your ascent more serenely.
What should I wear to climb Kilimanjaro?
Principles of garment layering
Climbing Kilimanjaro brings you face to face with extremely variable weather conditions, from tropical heat to intense frost.
To cope with these changes, mountaineers have developed an intelligent approach to clothing: the three-layer system.
This principle, found in all mountain activities, allows precise adaptation to your level of effort and climatic conditions. Like an onion, you can add or remove layers as needed, maintaining an ideal body temperature throughout your ascent.
Upper body equipment
Base layers: thermal and breathable
The first layer, in direct contact with the skin, plays a crucial role in your thermal comfort. Often referred to as the “second skin”, it is your best ally against body moisture. It must efficiently wick away perspiration while retaining body heat.
It works like a sophisticated evacuation system: during exertion, your body sweats to cool itself, and this layer captures the sweat and transports it to the outside, avoiding the unpleasant sensation of dampness on the skin.
For Kilimanjaro, there are two options: merino, a natural wool with exceptional properties, or technical synthetic fabrics.
Merino, though more expensive, offers the unique advantage of staying fresh even after several days’ use, thanks to its natural antibacterial properties. Be careful, however, to avoid cotton at all costs: once wet, it becomes a veritable cold trap, which can prove dangerous at altitude.
Mid-layers: fleece and compressible down jacket
The second layer plays the crucial role of thermal insulation.
Imagine a thermos flask: the air trapped between its walls maintains the temperature of your drink. It’s exactly the same principle for your clothes.
For Kilimanjaro, you’ll need two types of insulation: a lightweight fleece for mild to cool temperatures, and a compressible down jacket for the intense cold at high altitudes.
Fleece offers an excellent warmth-to-weight ratio and dries quickly. The choice between down and synthetic for your down jacket will depend on your risk tolerance: down offers incomparable warmth for minimal weight, but becomes useless if it gets wet, while the heavier synthetic will continue to protect you even in the rain.
Outer layers: hardshell jackets
This last layer is your shield against the elements.
A quality hardshell jacket must combine two essential properties: waterproofness to protect you from rain and snow, and breathability to wick moisture away from the inner layers.
Modern technologies like Gore-Tex make this little miracle possible: the fabric’s pores are small enough to block water droplets, but large enough to let water vapor through.
Lower body equipment
Base and intermediate layers
For your legs, the three-layer principle also applies, but with a few adaptations. The base layer remains breathable technical underwear, followed by sturdy, stretchy mountaineering pants.
A practical tip: take a pair of lightweight gym shorts with you too – the first stages of the climb can be hot enough to warrant them, and this little extra weighs next to nothing in your pack.
H5: Outer layer
The finishing touch is a pair of waterproof over-trousers, essential for high-altitude passages.
Waterproof over-trousers are a must, especially for high-altitude passages where snow and wind may be present.
Overtrousers deserve special attention. Opt for a model with full-length side zips. This seemingly innocuous feature becomes crucial when you need to slip it on quickly over your mountain boots in the face of a sudden downpour, or for ventilation during intense passages.
Complete clothing list for Kilimanjaro ascent
T-shirts & tops
- 2 to 3 short-sleeve technical t-shirts
- 2 to 3 long-sleeve t-shirts (ideal in the forest zone and at altitude)
- 1 warm top such as a fleece or breathable sweatshirt for the evenings
- 1 comfortable top for camp or sleeping
Jackets & upper layers
- 1 lightweight fleece (for intermediate stages)
- 1 thick fleece or synthetic insulated jacket
- 1 warm down jacket for the high-altitude camps
- 1 waterproof and windproof jacket (Gore-Tex or equivalent)
- 1 softshell or lightweight windproof jacket
Pants
- 1 pair of lightweight hiking pants (breathable, quick-drying)
- 1 pair of warm pants (softshell or fleece-lined)
- 1 thermal legging or base-layer tights for men and for women (for cold nights or summit day)
- 1 pair of waterproof overpants (for rain or strong wind)
- 1 pair of comfortable pants for camp or sleeping
Gloves & upper-body accessories
- 1 pair of thin liner gloves
- 1 pair of warm gloves (ski or mountaineering type)
- 1 warm beanie (wool, fleece or lined)
- 1 neck gaiter or buff (versatile)
- 1 cap or wide-brimmed hat (for sun protection)
- 1 pair of high-protection sunglasses (category 3 or 4)
Socks & footwear
- 4 to 5 pairs of hiking socks (wool or synthetic)
- 1 to 2 pairs of thermal socks for summit day
- 1 pair of high-cut hiking boots (already broken in)
- 1 pair of sandals or lightweight shoes for camp
- (Optional) 1 pair of gaiters to keep out mud or snow
Underwear
- 1 warm sleepwear set or thermal base layers
- 4 to 6 pairs of breathable underwear / boxers
- Sports bras (2 to 3)
Essential hiking gear
How do I choose the right backpack?
Recommended size and capacity
To climb Kilimanjaro, you’ll need a backpack with a maximum capacity of between 30 and 40 liters.
The porters take care of most of your equipment, leaving you to carry only your day’s gear. But with a 35L rucksack, you can carry all your gear for the climb. They can then only carry your food and tent. Once again, it all depends on your ethics and whether you want to do it in “sportier” or “more comfortable” conditions.
Your bag should be roomy enough to hold extra warm clothing, water, snacks and photographic equipment, while remaining comfortable to carry for several hours.
An adjustable back adjustment system is essential to distribute weight evenly and avoid muscle strain.
Also, look for side compression straps to stabilize the contents and reduce the volume of the bag when it’s not completely full.
Appropriate hiking boots
Shoe selection criteria (grip, comfort, waterproofing).
Shoes are probably the most crucial part of your equipment.
They must meet three fundamental criteria: support, protection and comfort.
For Kilimanjaro, opt for high boots that protect your ankles on uneven terrain. The sole should be deeply lugged for excellent grip on all types of ground, from loose soil to volcanic rock.
Waterproofing is essential: a Gore-Tex membrane or equivalent will protect your feet from moisture while allowing them to breathe.
The most important thing is the break-in period: start using your shoes several weeks before the climb to train them on your feet and avoid blisters during the expedition.
An interesting alternative for the first stages of the climb is the trail shoe. Lighter and more flexible than a classic mountain shoe, they offer an excellent compromise for the less technical terrain of the first few days.
Some experienced hikers even opt for a hybrid approach: trail shoes for the lower part of the climb, where the terrain is more stable and temperatures milder, then switch to mountain boots for the more technical, colder sections of the final days.
This strategy allows you to benefit from the best of both worlds: the lightness and comfort of trail bikes for the long approach walks, and the protection and warmth of mountain boots for the final ascent.
Personally, I keep trail shoes for as long as possible, as I don’t particularly like mountain shoes (which I’ve always found heavy compared to my 280-gram trail shoes).
Walking poles
Walking poles are a must-have for Kilimanjaro.
They considerably reduce the impact on your joints, especially on descents, and improve your balance on unstable terrain. Choose aluminum or carbon telescopic poles, adjustable to suit different slopes.
Ergonomic handles with adjustable wrist straps enable prolonged use without excessive hand fatigue. For transport, choose models that can be folded into three sections for easy storage in or on your backpack.
However, the use of poles remains a personal preference. Some people (and I’m one of them) prefer to keep their hands free, relying on their natural balance and using their arms for stability. This approach allows greater freedom of movement and a more direct connection with the terrain.
The choice will depend on your mountaineering experience, physical condition and progression style. The key is to test both options during your training sessions to determine which suits you best.
Other essential accessories
Headlamp
A powerful headlamp is vital for the final ascent, which always starts or ends at night (depending on whether you decide to go at sunrise or sunset).
Choose a model with several lighting modes, including a red mode to preserve your night vision.
Battery life should be at least 8 hours in continuous use, and don’t forget to carry spare batteries. A light beam of at least 200 lumens will give you a clear view of rough terrain as you make your way through the night.
Gourd or camelbak (compact items recommended)
Hydration management is crucial to a successful Kilimanjaro climb, where you’ll need to drink between 3 and 4 liters of water a day to counter the effects of altitude.
The choice of your hydration system therefore deserves special attention.
Modern hydration solutions fall into two main categories: traditional water bottles and water pouch systems (Camelbak type).
For Kilimanjaro, I recommend taking a hybrid approach by carrying both systems, but favoring compactable models that adapt to your needs.
Flexible water bottles, such as those from Platypus, are an excellent main solution.
These flexible containers can hold up to 1 liter of water and, when empty, roll up to take up minimal space in your bag. Their major advantage lies in their versatility: you can easily monitor your water level, refill them quickly, and even use them as a makeshift hot water bottle by pouring hot water into them to warm your sleeping bag.
In addition, a 2-liter water pouch with tube system is particularly practical during the hike. It allows you to drink regularly without having to stop or take a water bottle out of your bag.
However, bear in mind that the tube can freeze in the sub-zero temperatures of the final days of the ascent – which is why it’s crucial to also have a classic water bottle as backup. To limit the risk of freezing, you can blow into the tube after each use to empty it of water.
You should also consider insulating the tube from your hydration system with a special neoprene cover, particularly useful for passages at altitude where temperatures become negative. This extra protection, while representing minimal weight, can make the difference between having access to your water or having to wait for the tube to melt to hydrate.
A practical tip is to mark graduations on your water containers. This will enable you to keep precise track of your consumption and ensure that you maintain adequate hydration throughout the day, a crucial factor in preventing altitude sickness.
Choker, lightweight gloves and leather gloves
A multipurpose choker can be used for protection against the sun and as a muffler in the cold. For hands, the combination of light gloves for moderate temperatures (for mornings) and lined leather gloves for intense cold (useful only on the final ascent) is ideal.
Cap and bonnet
On the headside, alternate between a UV-resistant cap for lower altitudes and a warm hat for higher altitudes – both are necessary as conditions change rapidly.
Lighter, sharp knife and water filter (tablet)
For your safety and comfort, a reliable lighter, a sharp knife and water purification tablets are essential.
Lighter
The lighter is for emergencies and practical needs at camp.
Purification tablets
Purification tablets are an emergency solution for making water drinkable, even if the water is usually supplied by the organization team.
Mountain knife
As for the knife, choose a sturdy model with a fixed blade rather than a folding knife, which is more reliable for use in the mountains. If it’s more practical for you, take an Opinel-type folding knife.
Don’t forget that it won’t fit in your hand luggage, and neither will your poles. You’ll need to check the bag in the hold.
Kilimanjaro travel kit
A well-prepared first-aid kit can make the difference between a successful climb and a premature abandonment. Your medical kit must be adapted to the specific conditions of the high mountains and the particular challenges of Kilimanjaro.
Essential medicines
Preventing and treating altitude sickness is a top priority.
Acetazolamide (Diamox) is the drug of choice for prevention, starting the day before the climb. For acute symptoms, dexamethasone may be necessary, but only on prescription. Anti-inflammatories such as ibuprofen effectively relieve muscle and joint pain associated with intense exertion.
A broad-spectrum antibiotic, prescribed by your doctor, will help treat any infections.
Don’t forget antidiarrheals and anti-nausea medication, as changes in altitude and diet can upset your digestive system.
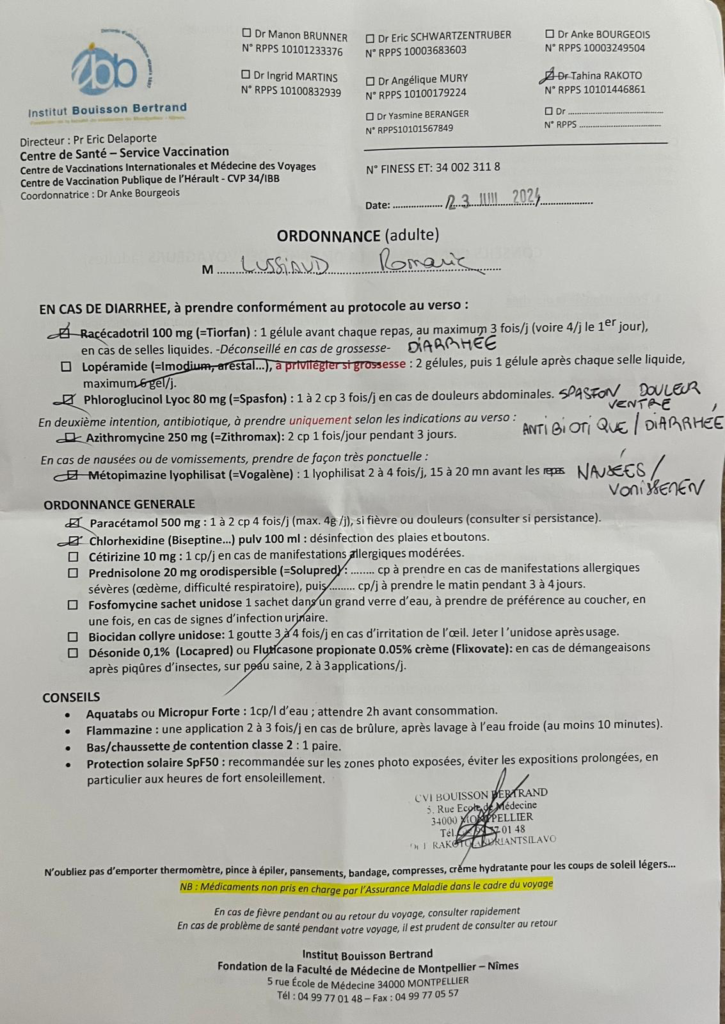
Contents of first-aid kit
Your first-aid kit should be complete but compact.
Bandages of different sizes will protect any blisters or small wounds.
A strong disinfectant such as Betadine, sterile compresses and plasters can be used to treat superficial wounds. Elastic bandages are invaluable for minor sprains.
Water purification tablets are an added safety precaution, although water is usually supplied by the organizing team.
Don’t forget a survival blanket, lightweight but potentially vital in an emergency.
Mountain-specific hygiene products
Hygiene at altitude requires products adapted to the environment.
A multi-purpose biodegradable soap can be used for both washing and emergency laundry. Biodegradable wipes offer a practical solution when water is scarce or icy.
Sun protection is crucial: at least SPF 50+ sun cream, UV-protective lip balm and category 4 sunglasses are essential. The intensity of UV radiation increases with altitude, and reflection off the snow amplifies this phenomenon.
Food: the energy to reach the top
Foods to focus on: Energy bars, dried fruit, nuts, etc.
Foods rich in fast carbohydrates, such as energy bars, dried fruit and nuts, offer an immediate energy boost between stages. For main meals, opt for complex carbohydrates for lasting energy, accompanied by proteins to help muscle recovery after exercise. Don’t forget to include regular snacks to maintain a constant energy level throughout the day.
Hydration: Importance of regular drinking, water purification solutions.
Drinking regularly is essential to avoid the negative effects of altitude sickness, which can compromise your ability to reach the summit. At altitude, water loss through respiration and perspiration is amplified, while the sensation of thirst diminishes. To prevent dehydration, carry water purification solutions and drink small quantities frequently.
How to organize your backpack: optimize your space
Distribute weight strategically
Strategic weight distribution in your bag is essential to maintain your balance and minimize fatigue.
The heaviest items should be placed in the center of the bag, close to your back, to keep your center of gravity stable.
Frequently used items such as snacks, water bottles or rain gear should remain easily accessible in the outer pockets or top of the bag.
Use waterproof bags to protect your equipment
The use of waterproof bags is not an option but a necessity.
Divide your equipment into several waterproof bags of different colors for more efficient organization: one for dry clothes, another for electronics, and a third for important documents.
This organization not only protects your equipment from humidity, but also makes it easier to find specific items.
Save space with squeezable bags
Compressible bags are your allies when it comes to optimizing space. Use them for bulky items such as down jackets and sleeping bags.
Compression can reduce their volume by up to 50%, freeing up valuable space in your bag.
Also, remember to fill empty spaces with small, soft objects such as socks or underwear to stabilize the contents of your bag and prevent objects from shifting while you’re walking.
Conclusion
Climbing Kilimanjaro is more than just a physical challenge – it’s an adventure that requires meticulous preparation and the right equipment. The success of your expedition depends largely on your ability to anticipate and respond to the unique demands of this mythical mountain.
The key is to apply the layering principle to both your clothing and your overall organization. This modular approach enables you to adapt quickly to changing conditions, from the tropical heat of the equatorial forest to the freezing temperatures of the summit. Every piece of your equipment, from your shoes to your backpack to your hydration system, needs to be carefully chosen for its versatility and reliability.
Preparing your pharmacy and nutritional supplies is just as crucial. Mountain sickness and intense fatigue are real challenges you’ll have to face, and having the right medicines and supplements can mean the difference between giving up and succeeding.
Don’t forget that the most sophisticated equipment will never replace a good physical and mental preparation. However, with the right equipment and the right organization, you’ll be able to concentrate fully on the unique experience of climbing to the roof of Africa, turning this challenge into an unforgettable adventure.
Finally, keep in mind that this investment in quality equipment isn’t just for Kilimanjaro. Much of this equipment will serve you well on other mountain adventures, making this preparation a lasting investment in your passion for mountaineering.