Shira Route Kilimanjaro: The Wild High-Altitude Path
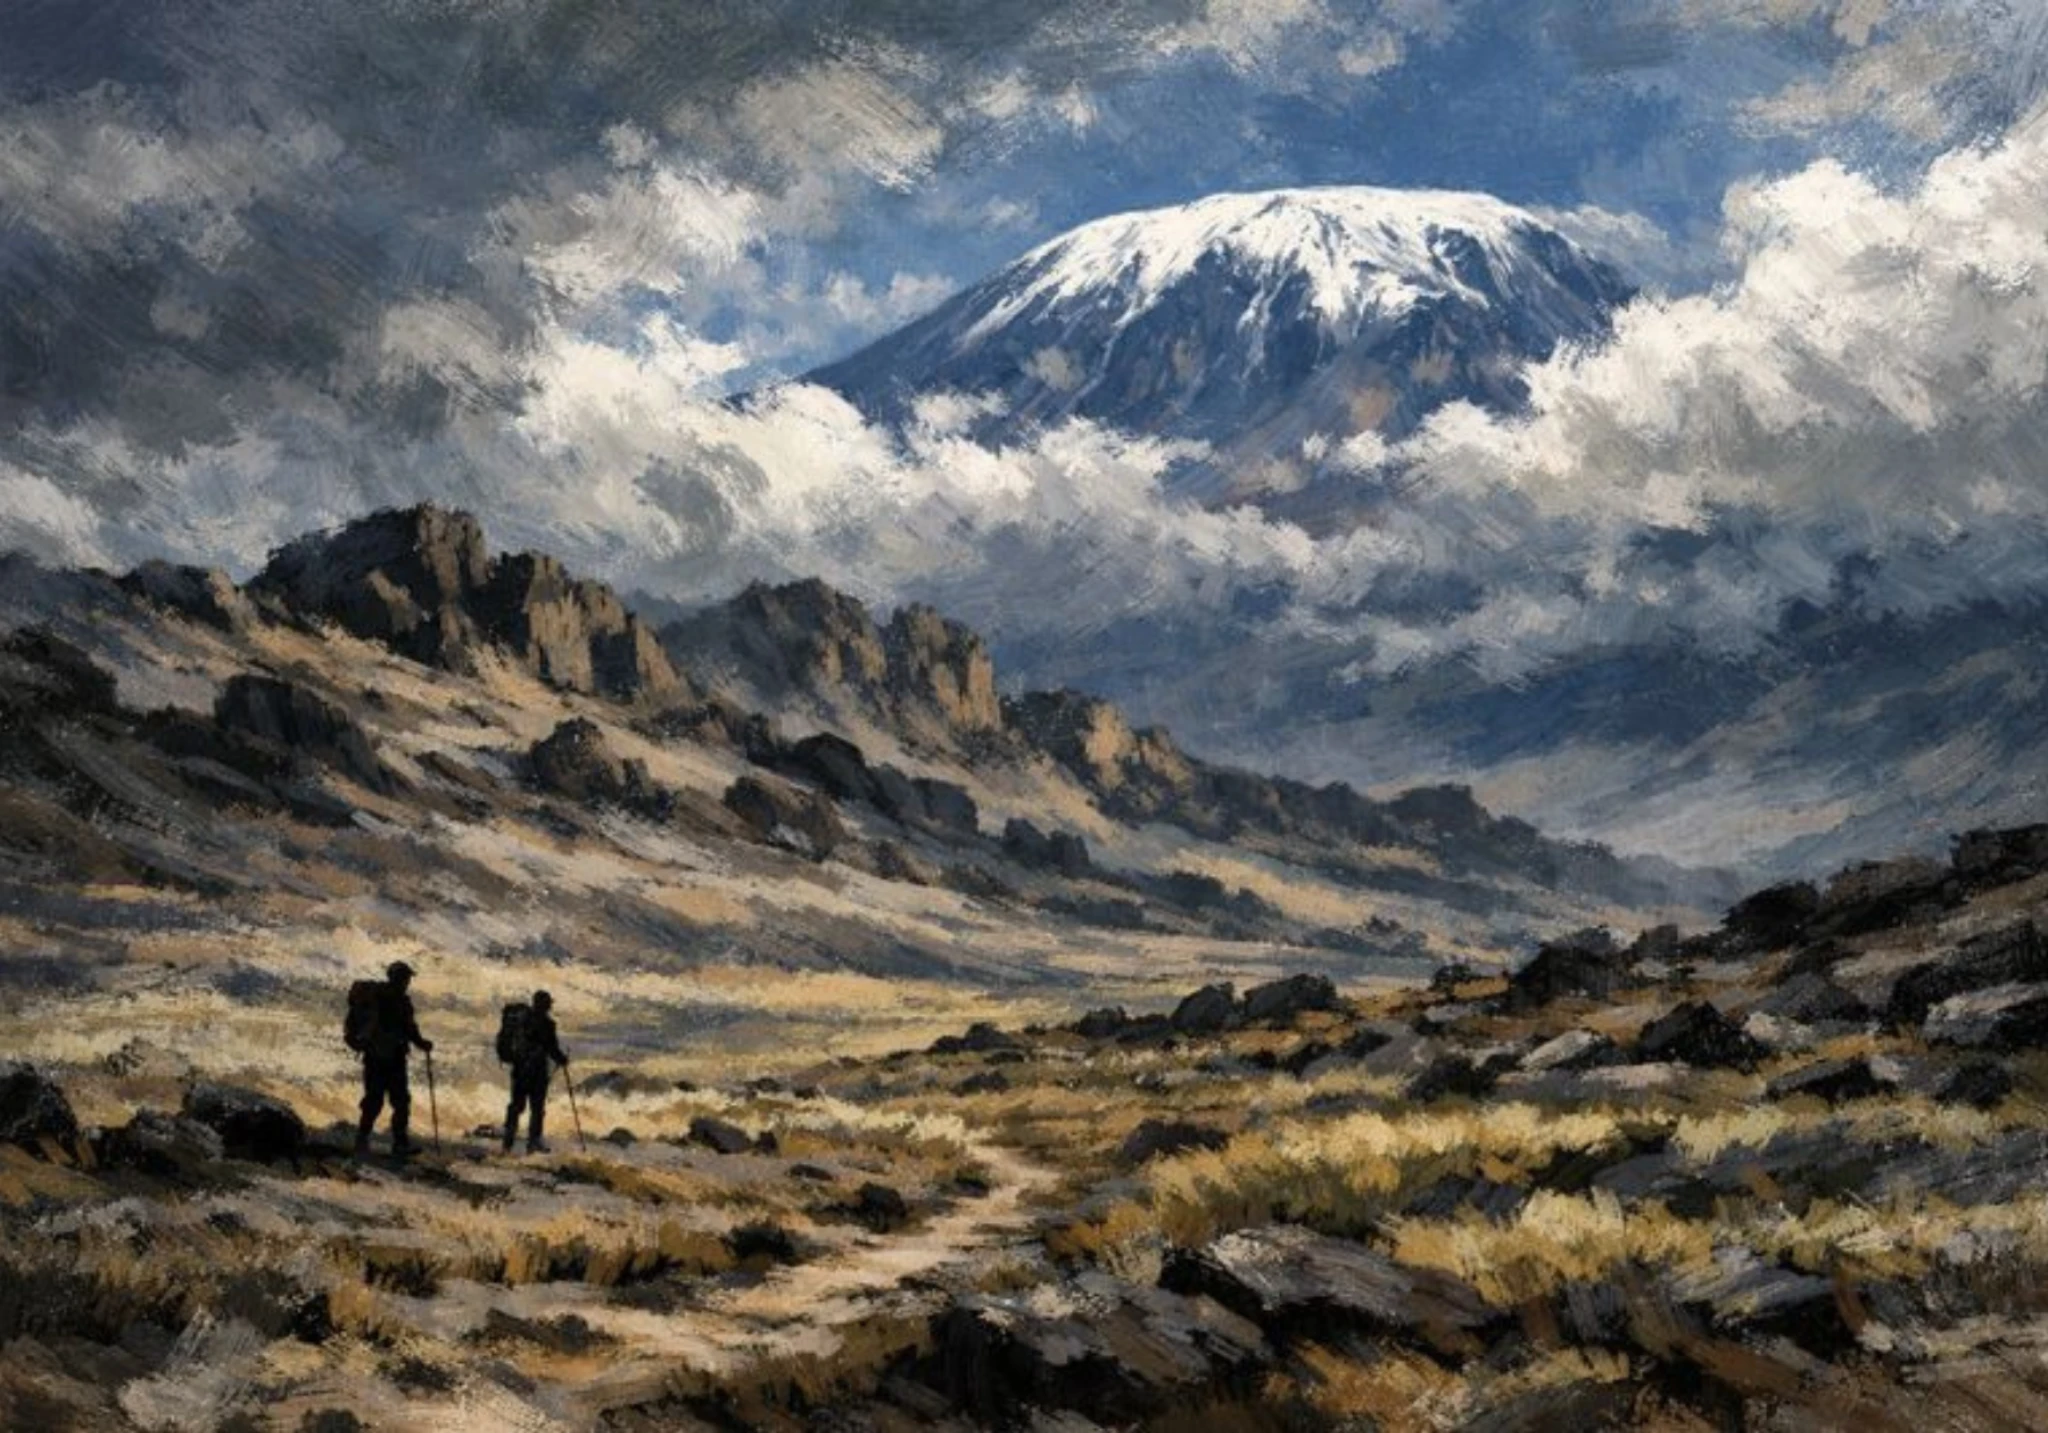
Dreaming of climbing Kilimanjaro, Africa’s rooftop at 5,895 meters, while enjoying a less-traveled itinerary packed with spectacular scenery?
The Shira Route could be the perfect option.
Less well-known than the Machame or Lemosho, this route offers a unique western approach with a departure already at altitude on the Shira Plateau — one of the oldest volcanic craters in the massif.
Close to the Lemosho Route in its second half, the Shira Route appeals to trekkers seeking climbing comfort, open views from day one, and quick access to the high plateaus of Kilimanjaro National Park. It does, however, require solid physical preparation and special attention to acclimatization, due to its high starting point.
In this article, we cover everything you need to know about climbing Kilimanjaro via the Shira Route: day-by-day itinerary, difficulty level, gear to pack, the best time to go, and our practical tips.
And to fully experience this adventure in the best conditions, we recommend our partner Jambo Kilimanjaro, specialists in Kilimanjaro climbs.
Your free quote for climbing Kilimanjaro
Prepare your adventure with complete peace of mind: receive a personalized estimate within 24 hours, tailored to your dates, your level, and your wishes.
Why choose the Shira Route to climb Kilimanjaro?
An overview of the Shira Route: what to expect
The Shira Route is a less-traveled western variant that begins at a high altitude of 3,600 meters, directly on the Shira Plateau.
It’s one of the rare itineraries that starts with a vehicle transfer up to a high-altitude camp, bypassing the first walking day usually scheduled on other routes.
The itinerary crosses the vast and spectacular Shira Plateau before joining the Lemosho and Machame routes at Lava Tower. It then leads to the summit via Barafu Camp, with a descent down the Mweka Route. The classic duration is 7 to 8 days, with wide-open landscapes from day one and rapid immersion into high mountain terrain.
When is the best time to climb Kilimanjaro via the Shira Route?
Like other Kilimanjaro itineraries, the Shira Route is especially recommended during the dry seasons: from January to early March, and from June to October. These periods offer more stable weather, good visibility over the plateau panoramas, and lower risk from rain-related issues (slippery trails, humidity, etc.).
Since the start is already at altitude, it’s even more essential to go in dry conditions to avoid issues caused by rapid temperature swings and the lack of progressive acclimatization.
Pros and cons of the Shira Route
Advantages of the Shira Route
The Shira Route offers direct vehicle access up to the plateau, providing considerable time and energy savings by skipping the long approach hike through the rainforest.
From day one, you enjoy spectacular open landscapes that immediately reveal all the majesty of the roof of Africa.
The more intimate experience guaranteed by the low traffic at the start is a major asset for adventurers seeking authenticity.
The route is also a great option for photographers and lovers of wide-open spaces, thanks to its exceptional lighting conditions and unobstructed panoramas.
Disadvantages of the Shira Route
- High-altitude start: increased risk of altitude sickness early in the trek
- Less time for progressive acclimatization
- Higher cost due to logistics and the transfer up to the plateau
- Less suitable for beginners or people sensitive to altitude
Day-by-day itinerary of the Shira Route
Day 1: Shira Gate (3,400 m) → Shira 1 Camp (3,610 m)
Distance: 3 km · Duration: 2-3 hours · Difficulty: Easy
Your Kilimanjaro summit adventure begins with a 4×4 transfer along rugged tracks leading to Shira Gate (3,400 m), the official starting point for Shira treks.
This unique approach propels you immediately into the mineral, wild world of high mountain terrain, skipping the forest zones to plunge you directly into Kilimanjaro’s exceptional alpine atmosphere. Shira 1 Camp (3,610 m) is your first refuge, offering an ideal observation point to acclimatize to altitude.
The short approach walk to Shira 1 Camp is a perfect warm-up on high-altitude terrain, letting your body adapt gradually to thinning oxygen.
💡 Altitude adaptation: Hydrate generously from the moment you arrive at altitude and immediately adopt a slow pace to ease acclimatization at 3,400 meters.
Day 2: Shira 1 Camp (3,610 m) → Shira 2 Camp (3,850 m)
Distance: 7 km · Duration: 4-5 hours · Difficulty: Easy to moderate
Day two involves a gradual climb to Shira 2 Camp (3,850 m), including a full exploration of the Shira Plateau — a natural cathedral 13 kilometers in diameter that is one of the most magnificent geological spectacles in Africa.
The crossing of this ancient volcanic caldera reveals a landscape of surreal beauty, dotted with rock formations sculpted by millennia of erosion and punctuated by alpine flora unique in the world, with its giant senecios and ancestral lobelias.
The trail winds through this exceptional natural amphitheater, offering shifting perspectives on the summits of Kilimanjaro and the Tanzanian plains stretching to the horizon. This progressive acclimatization day prepares your body for the technical challenges that await.
💡 Hydration strategy: Significantly increase your water intake (4-5 liters) to compensate for the dehydrating effects of altitude and the dry climate of the plateau.
Day 3: Shira 2 Camp (3,850 m) → Lava Tower (4,630 m) → Barranco Camp (3,960 m)
Distance: 10 km · Duration: 6-8 hours · Difficulty: Challenging
This third stage marks the real start of the technical challenge with the rigorous application of the “climb high, sleep low” acclimatization principle.
The morning climb toward the imposing Lava Tower (4,630 m) propels you into an increasingly austere mineral world, where every meter of altitude gained is felt in your breathing effort and your pace.
This spectacular volcanic formation, a true monument of petrified lava, offers an exceptional panorama of Kilimanjaro’s glaciers and marks your first push beyond 4,500 meters.
The technical descent to Barranco Camp across rocky and unstable terrain demands focus and care, while letting your body recover at a more forgiving altitude. This sophisticated acclimatization strategy optimizes your chances of summit success by physiologically preparing your body for extreme conditions. Arrival at Barranco Camp reveals the spectacular wall of the same name, the iconic challenge awaiting you the next day.
💡 Effort management: Save your energy on the climb to Lava Tower by keeping a steady pace. The rocky descent requires sustained attention to avoid slips.
Day 4: Barranco Camp (3,960 m) → Karanga Camp (3,995 m)
Distance: 5 km · Duration: 4-5 hours · Difficulty: Challenging
Day four confronts you with one of the most spectacular and photogenic moments of the climb: the legendary conquest of the Barranco Wall.
This impressive 300-meter rock face, affectionately nicknamed the “Breakfast Wall”, briefly turns trekkers into authentic climbers in a fascinating technical climbing exercise.
Although not dangerous, the ascent requires coordinated use of all four limbs to clear exposed ledges and negotiate rocky sections in a choreography guided by your expert team.
After this climb and the breathtaking panoramas from the top of the wall, the route crosses desolate alpine valleys with mineral landscapes of stark beauty — silent witnesses to ancestral volcanic activity.
The progression toward Karanga Camp winds between petrified lava flows and surreal rock formations, in a high-mountain setting that evokes extraterrestrial landscapes. This camp is your last stop before base camp and also the last point to refill fresh water.
💡 Climbing technique: On the Barranco Wall, systematically maintain three points of contact, test every hold, and follow your guide’s footsteps exactly. Safety beats speed.
Day 5: Karanga Camp (3,995 m) → Barafu Camp (4,673 m)
Distance: 4 km · Duration: 4-5 hours · Difficulty: Challenging
This penultimate stage catapults you into the hostile, mineral universe of the extreme alpine zone, where only the harshest conditions shape a landscape of striking austerity.
Arrival at Barafu Camp, perched precariously on a wind-swept rocky spur, is a moment of intense emotion mixing apprehension and excitement.
Meticulous verification of your cold-weather gear is vitally important on the eve of the final ascent. This intense preparation evening, punctuated by an ultra-early lights-out around 6 PM, conditions you mentally and physically for success in the imminent nighttime push.
💡 Mental preparation: Visualize your success at the summit in detail and psychologically prepare every stage of the night climb. Mental strength matches technical gear.
Day 6: Barafu Camp (4,673 m) → Uhuru Peak (5,895 m) → Mweka Camp (3,100 m)
Distance: 17 km · Duration: 12-16 hours · Difficulty: Extreme
This is the big day! You’ll get up very early for an intense final climb toward Uhuru Peak (5,895 m), the summit of Kilimanjaro.
This legendary day is the absolute culmination of your African quest, literally lifting you to the top of the continent.
The brutal wake-up between 11:30 PM and 1:00 AM in the polar darkness of Barafu Camp launches a six-to-eight-hour nighttime epic through a ghostly landscape, where only your headlamps pierce the icy darkness to light a path strewn with rocky obstacles and snowy passages.
The climb is grueling, with steep slopes and shifting weather. Once at the top, you’ll share an unforgettable moment with your team, watching the sunrise over the Tanzanian landscape.
After this stop on the roof of Africa and the photos that will immortalize this magical moment, the marathon 2,800-meter descent to Mweka Camp tests your ultimate endurance in a transformative personal odyssey.
💡 Fatigue management: Mentally break the night climb into short stages. Save every motion on the way up and stay vigilant during the long descent to protect your knees.
Day 7: Mweka Camp (3,100 m) → Mweka Gate (1,640 m)
Distance: 10 km · Duration: 3-4 hours · Difficulty: Easy
This final stage orchestrates your gradual return to civilization through the lush green setting of the Mweka rainforest — a striking and therapeutic contrast with the lunar, icy landscapes you’ve just left.
This descent lets you recover and enjoy the final moments of your journey. You’ll pass through varied landscapes, including villages and local farms. Mweka Gate is the endpoint of your trek, where you’ll receive your summit certificate.
How to prepare for your Shira Route climb
What physical condition is needed to succeed on the Shira Route?
The Shira Route is often considered one of the more accessible itineraries to climb Kilimanjaro, but it still requires solid physical condition. It’s recommended that you’ve already completed long hiking outings, ideally with a loaded backpack, to prepare for the effort.
For a complete training plan and mental preparation advice, check out our full guide:
How to prepare physically and mentally to climb Kilimanjaro
What gear is essential for the Shira Route climb?
To face Kilimanjaro’s changing conditions, quality gear is essential. Whatever route you choose, you’ll deal with temperature swings, wind, humidity, and altitude.
For the complete list, check out our dedicated guide:
Kilimanjaro packing list: everything you need to climb
Shira Route tip: pack warm technical clothing that breathes well, sturdy and comfortable hiking boots, a sleeping bag rated for cold temperatures, a headlamp, sunscreen, and sunglasses.
How to choose a reliable agency and porter team?
If you want to succeed on the Shira Route and head toward Africa’s summit with peace of mind, trust your adventure to Jambo Kilimanjaro, an experienced local agency.
You’ll benefit from professional support with certified English-speaking guides, well-treated porters, and complete logistics including transfers, accommodation, balanced meals, and suitable equipment.
With Jambo Kilimanjaro, you walk toward the summit with confidence.
Conclusion: the Shira Route, a panoramic and quiet path to Kilimanjaro’s summit
Choosing the Shira Route to climb Kilimanjaro means heading toward a wilder, more isolated, and equally spectacular adventure. This itinerary starts at high altitude on the Shira Plateau, offering from day one an unobstructed view and a unique immersion into Kilimanjaro’s volcanic landscapes. Less frequented than other routes, it appeals to trekkers seeking tranquility and a more authentic connection with the mountain.
While the Shira Route demands solid physical condition due to its high-altitude start, it then follows a path similar to the Machame, with a favorable acclimatization profile. It’s an excellent option for well-prepared hikers looking for an off-the-beaten-path experience while maximizing their chances of success.
Hesitating between routes? Compare the Shira with the Machame, Marangu, Lemosho, Rongai and Londorossi routes to find your match.
Want an unforgettable climb far from the crowds? The Shira Route is waiting for you — and for an adventure in complete peace of mind, we recommend our partner Jambo Kilimanjaro, a trusted local expert to climb the roof of Africa.
So, are you ready to join the prestigious circle of Kilimanjaro conquerors?
Uhuru Peak is calling. Will you answer the call?